Share This Article
This scrap busting DIY is perfect for beginner and/or someone who doesn’t have a whole lot of time to spend on sewing. You can make a set of Reusable Makeup Remover Pads plus a washing bag with a zipper for them under an hour if you use a sewing machine. It will take a bit longer if you opt for hand sewing instead.
I’ve used these reusable makeup remover pads for makeup removal as well as to apply toner and they work great.
Sewing steps are super simple.
1. Go through your fabric scrap stash and choose your fabric.
I’m using 100% cotton for top layer and two layers of polyester blend to make my makeup remover pads, well… padded 🙂
For a washing bag – to pop the makeup remover pads into your washing machine and reuse them again and again – you’ll need about 12 inch long 4 inches wide mesh-like fabric scrap and 4 inch long zipper.
2. Iron your fabric. Trace rounds on the fabric. I’m making 3 inch in diameter makeup remover pads.
Simply trace a cup of on the fabric. 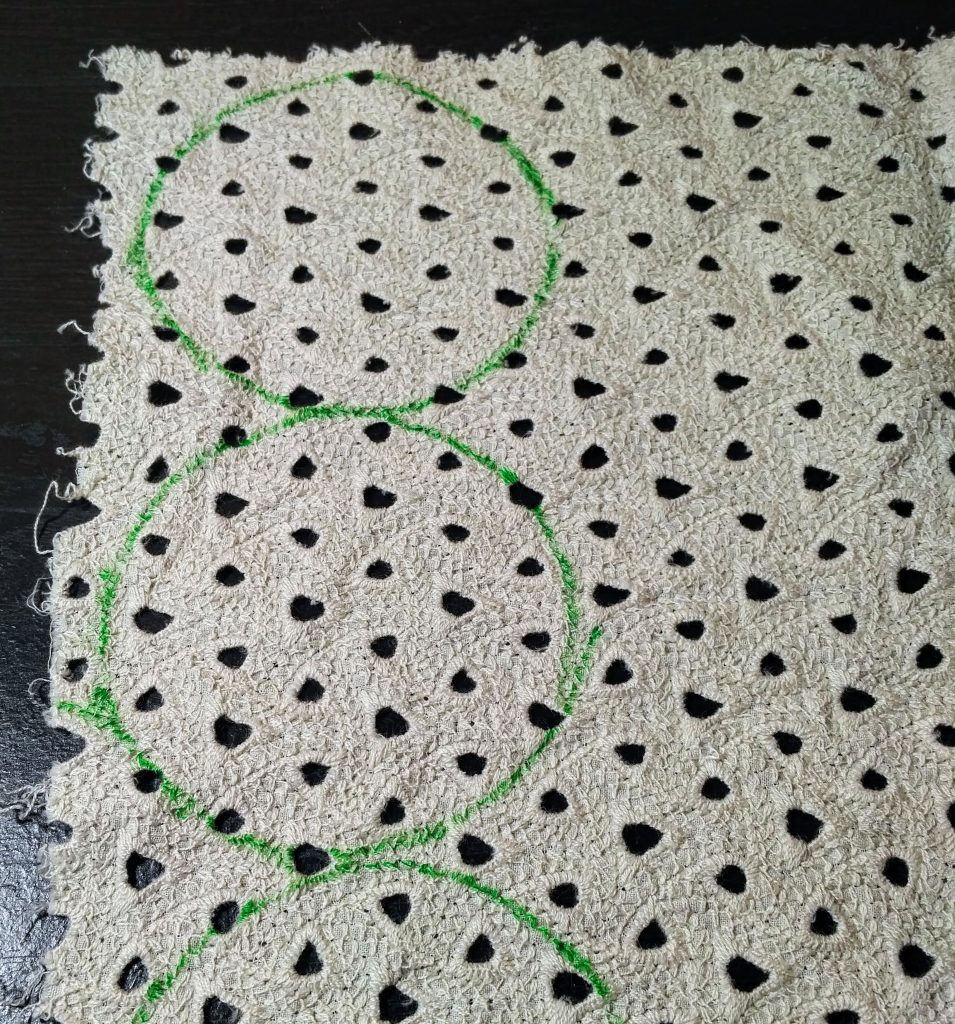
I’m also using 3 inch long 2 inch wide rectangular detail (made of the poly blend fabric) to make a strap at the back of the makeup remover pads. Using the makeup remover pads with a strap is just more convenient. If you’re making these as a gift, the strap will give your makeup remover pads more finished and refine look.

3. Stitch rectangular length-wise, right sides together. Turn the right side out, press.
4. Make “sandwiches”: cotton circle, then two poly blend circles, then strap detail. Bast the layers together along the perimeter of the circles.
Machine sew or hand sew the 3 circles and strap together.
I’m using serger to stitch all four layers together. If you’re making reusable makeup remover pads as a gift, you can use bias tape to give your pads more tidy and neat look.
5. To make a washing bag for your makeup remover pads, sew your zipper to the two 4 inch sides of the fabric, wrong sides together.
Fold your fabric, allowing one side to be 1 inch longer than the other. Your zipper will be 1 inch below the top of the bag.
Stitch two longer sides of the bag together — side seams of the washing bag. I used a strap of bias to reinforce the side seams.
Turn right side out.
Your reusable makeup remover pads and custom-made washing bag are done!
Enjoy and please share with your friend who might also like this quick and useful scrap busting DIY project!
1 Comment
Nonie
I really liked your post. Really looking forward to read more. Awesome!