Share This Article
All of us crafters inevitably accumulate fabric scrap stash. This simple DIY project is here to put your stash to use, create beautiful accessory that you can give a lot of wear. This hairband will have a perfect fit every time. It takes less than an hour to make one and sewing machine is optional.
The problem I find with store-bought headbands is that they never seem to fit right: Either too tight and you might feel like your hair is being pulled or a bit loose and don’t hold your hair in place. Also many store-bought headbands are made of polyester and cause unnecessary perspiration. This DIY headband is made with velcro closure to adjust the its size depending on your hairstyle and personal preferences.
Pretty & Practical Gift Idea
Make a set of 3 headbands, use different colors and/or fabric to create a cute gift for your friends and relatives.
For this DIY you will need
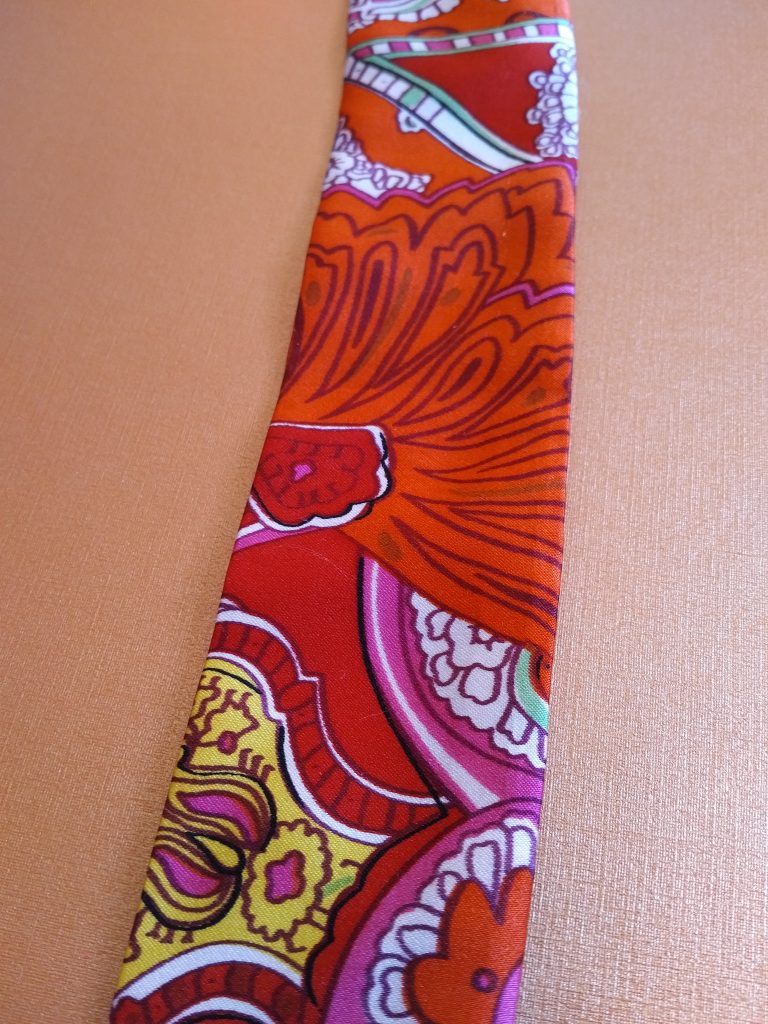
- fabric 26 inch long, 3.5 inch wide. I’m using scraps of gorgeous pure silk with orange-red-yellow pattern elements
- thread, needle, scissors
- sewing machine (optional)
- Hook-and-loop fastener (velcro) 1 inch wide, 2 inch long
DIY headband steps
- Iron your fabric. Cut to 26 inch long, 3.5 inch wide size.
- Fold in half lengthwise, right sides together.
- Stitch the two edges together lengthwise. Turn right side out, press. You now have a tube like fabric detail, 26 inch long, 1.75 inch wide.

4. Tuck 0.5 inch edge of the to-be headband inside. Topstitch by hand or on sewing machine to prevent the edge from fraying.
5. Repeat on the other side of the to-be headband.
6. Sew loop part of the fastener on one end of the band, on the upper side of the band (facing up). I sewed it by hand.
 5.
5.
7. Sew hook on the other end of the band, on the inside side of the band so that when you fasten the hook-and-loop closure, your headband isn’t twisted.
6. Press, wear and enjoy!
How do you make use of your fabric scrap stash? Please share!
