Share This Article
It’s always gratifying to be able to wear a beautifully looking piece of clothing, and know that it was made by you, out of a pre-loved clothes. This turning-men’s-shirt-into-a-trendy-tunic is a very simple DIY project. It could be completed in a mere two hours. You can put to use any scraps of a beautiful fabric you have, for example, the one that is not enough for the entire clothing item, and too beautiful to throw away.
You will need
- Shirt to be refashioned
- Thread and needle
- Sewing machine (optional)
- Fabric for decoration or an old scarf
Refashion instructions
Step 1.
Iron the shirt well; it’s a key to have all future cuts & seams look nice and even.
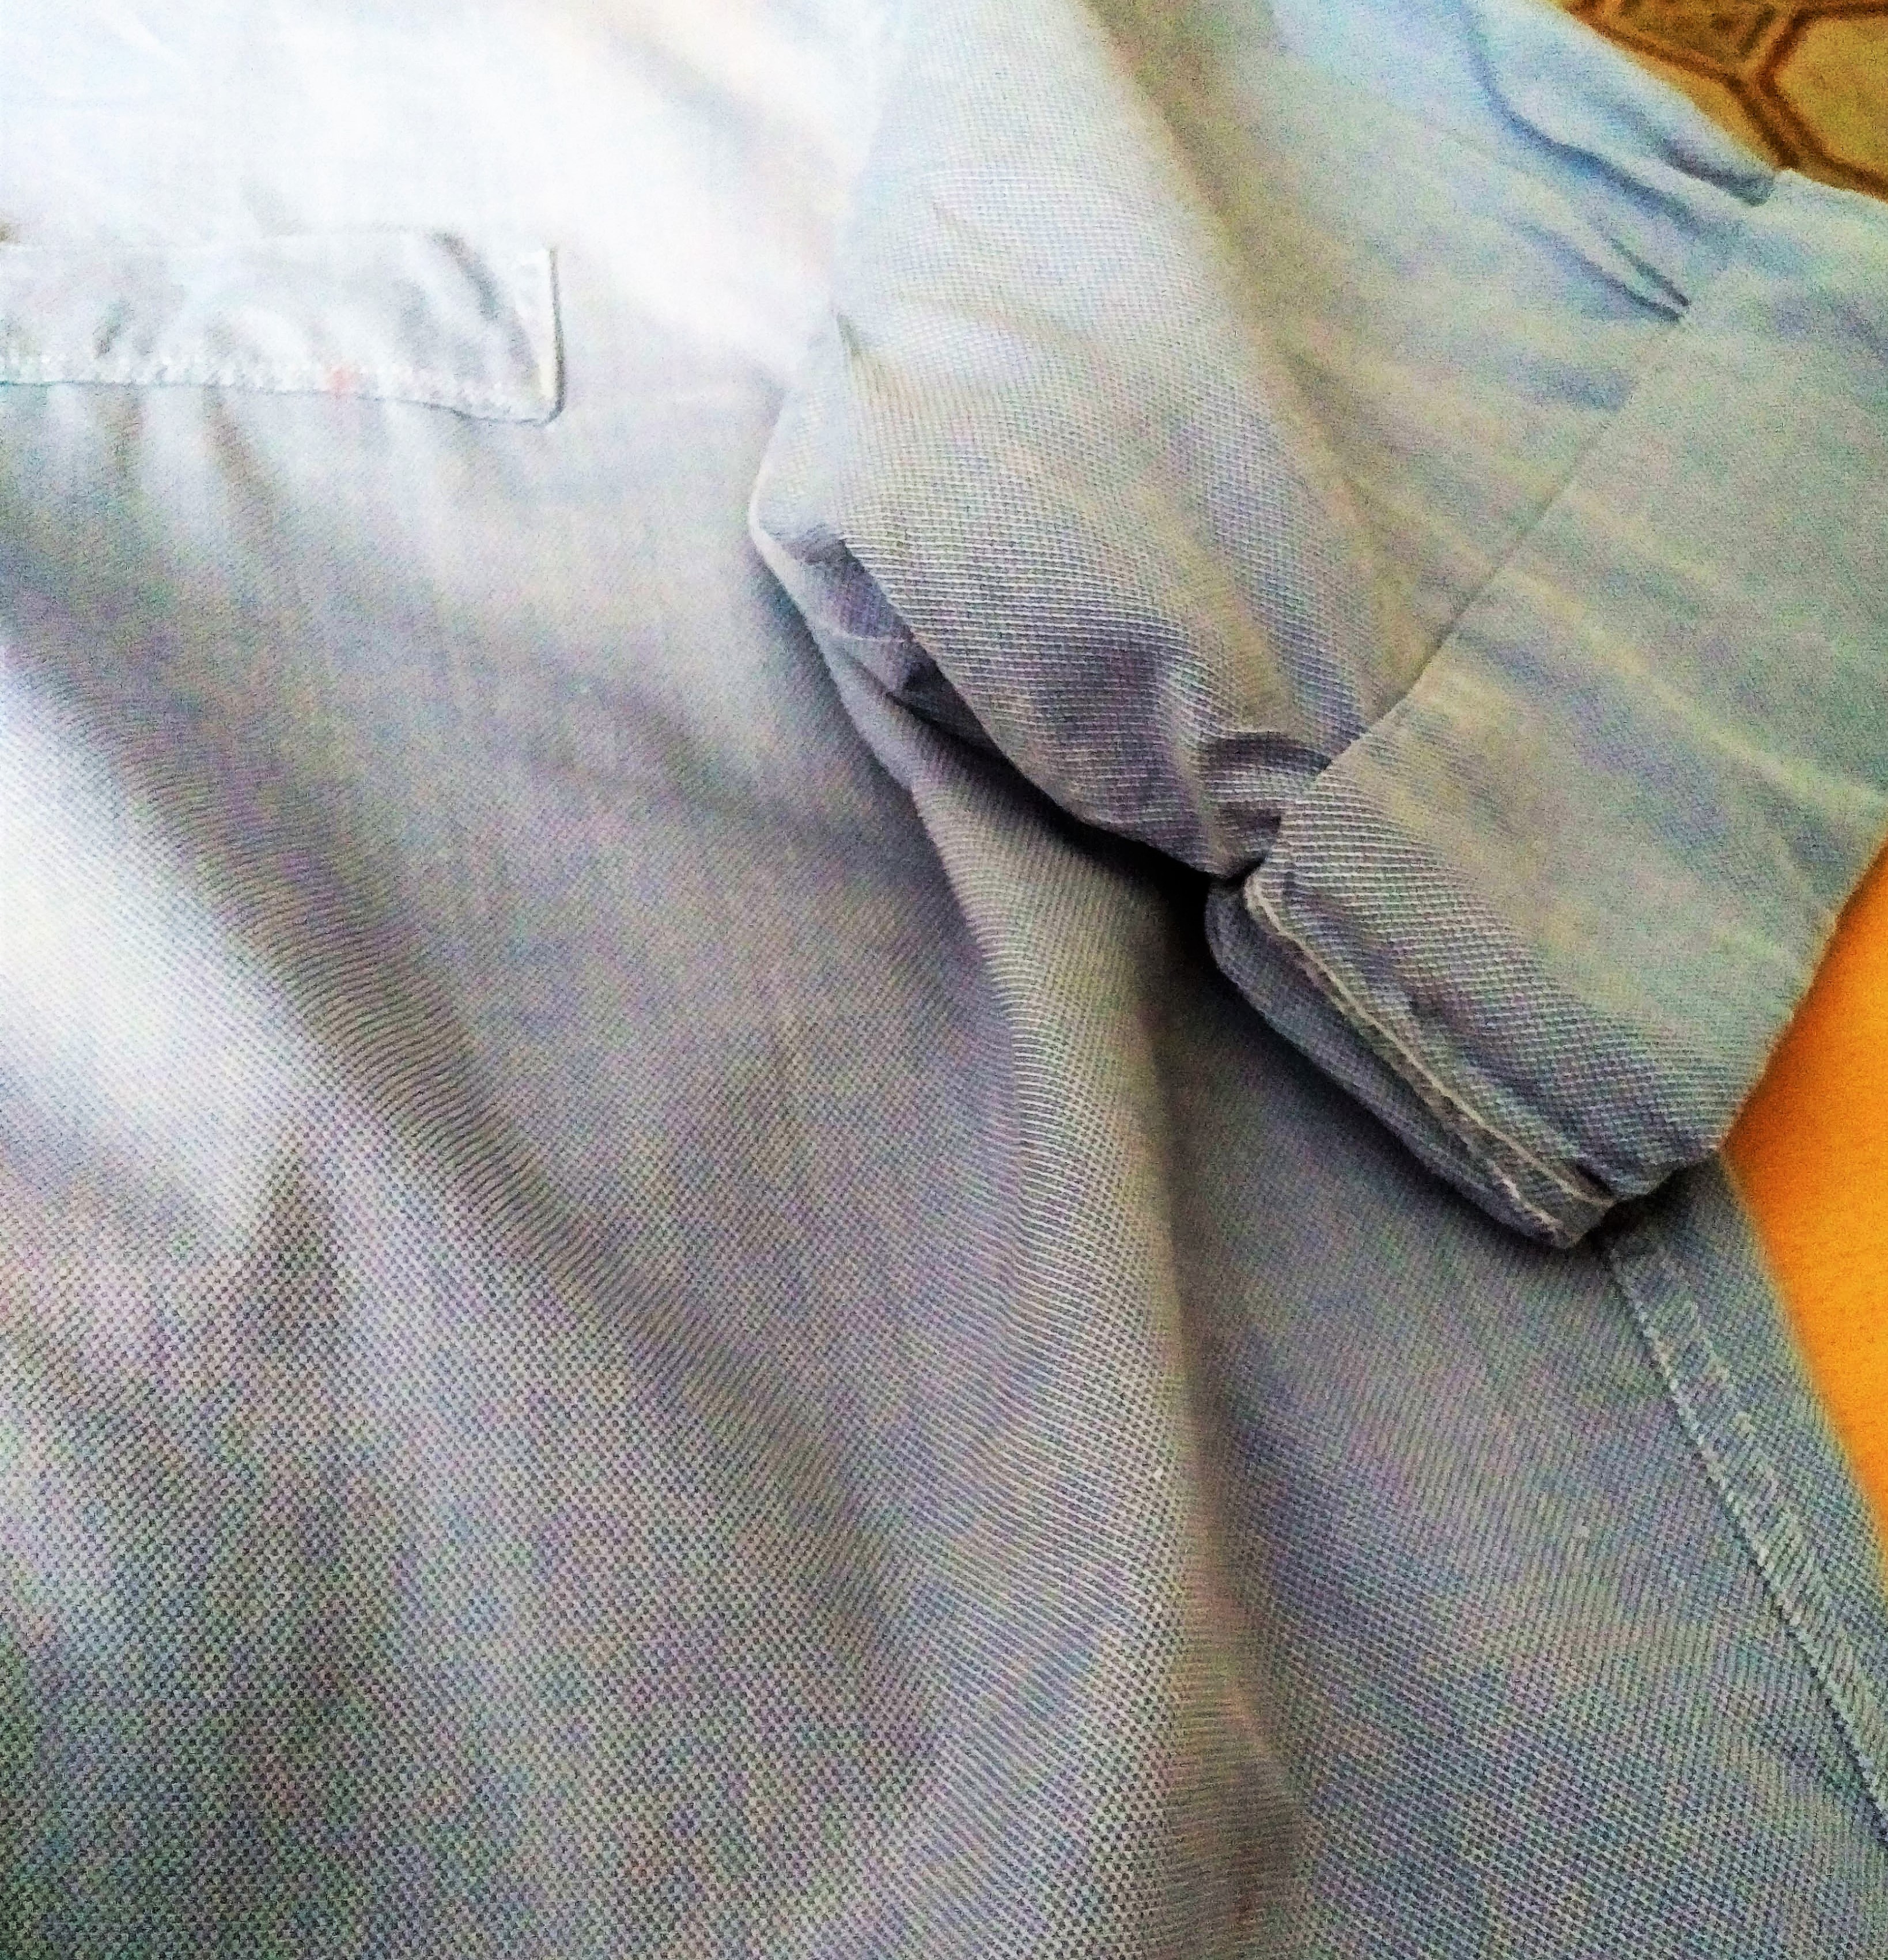
Cut the sleeves to a desired length. Roll the sleeves up. This makes arms look a little slimmer in comparison to the bulk of a rolled up sleeve. I hand stitched them to insure the rolled up sleeves stay in place, and don’t unroll when tunic is worn.

Step 2.
Remove the top part of the collar. That’s the place where shirts are normally worn our first.
I unpicked the seem, removed the top part of the collar, and hand-stitched the seam back.
Step 3.
Remove the buttons. Stitch the closure down, leaving enough room for you to pull the tunic through your head later on.
Step 4.
Cut your fabric or old scarf to make the bottom part of your future tunic:
width–5 inches
length–the length of the shirt’s bottom hem plus 1/2 inch seam allowance
Sew together the shirt’s bottom and the fabric, right sides together. Press the seam.

Step 5.
To decorate the tunic, I cut some of the elements out of the fabric’s embroidery. I then pressed the elements, and top-stitched them to the collar as well as down to where the first two buttons used to be.

That’s how it looks on the wrong side.

Your trendy tunic is ready!!! Please Share with your friend who enjoys refashioning too.


1 Comment
showbox for pc download
Hello, I enjoy reading all of your post. Ilie to write a little comment to support
you.